 Today I am going to take you for a walk through all of my furniture building. It’s long over due and hopefully really helpful. Please send me any questions in the comments or through my contact form on my About page, I am happy to help. This tutorial is specifically for the bench, but its all the same. You can modify my instructions below and make the Farmhouse Coffee Table, Farmhouse Console Table, or even my masterpiece the Farmhouse Dining Table. I apologize if I’m not using the proper carpentry terms – remember I just started!
Here goes. First since we are buying lumber that is primarily used for framing we need to straighten out the edges. Otherwise we end up with curved corners butting against curved corners – its just not as clean and crisp. I do this first and I do every plank so that they are all ready to go.

Now I’m going to build the legs first. Since I want this to go into my Farmhouse Dining Table I decided to have 4 legs, that way they can go around the 3 legs on the table. Here you see what the finished legs will look like.
 I decided that I want mine to be the same height as my chairs. So measure the chair, -1 2×4 (1.75 inches thick for the top beam) – 2 2×4 (1.75 x2 for the bottom beam) -1 inch for the footies. Don’t forget about your seat – 2 inches for the seat (the frame 1.75 + .25 for the top). The balance will be how tall you need the middle pieces to be. Measure and cut 8 pieces that length, 2 for each leg. When you are cutting that many pieces it can be helpful to use a butt.
Set up a butt using some scrap wood and a small clap. This will ensure that your pieces are of identical lengths. The next step is to cut the pieces that will go around the beam. Here you can see the butt that I used.
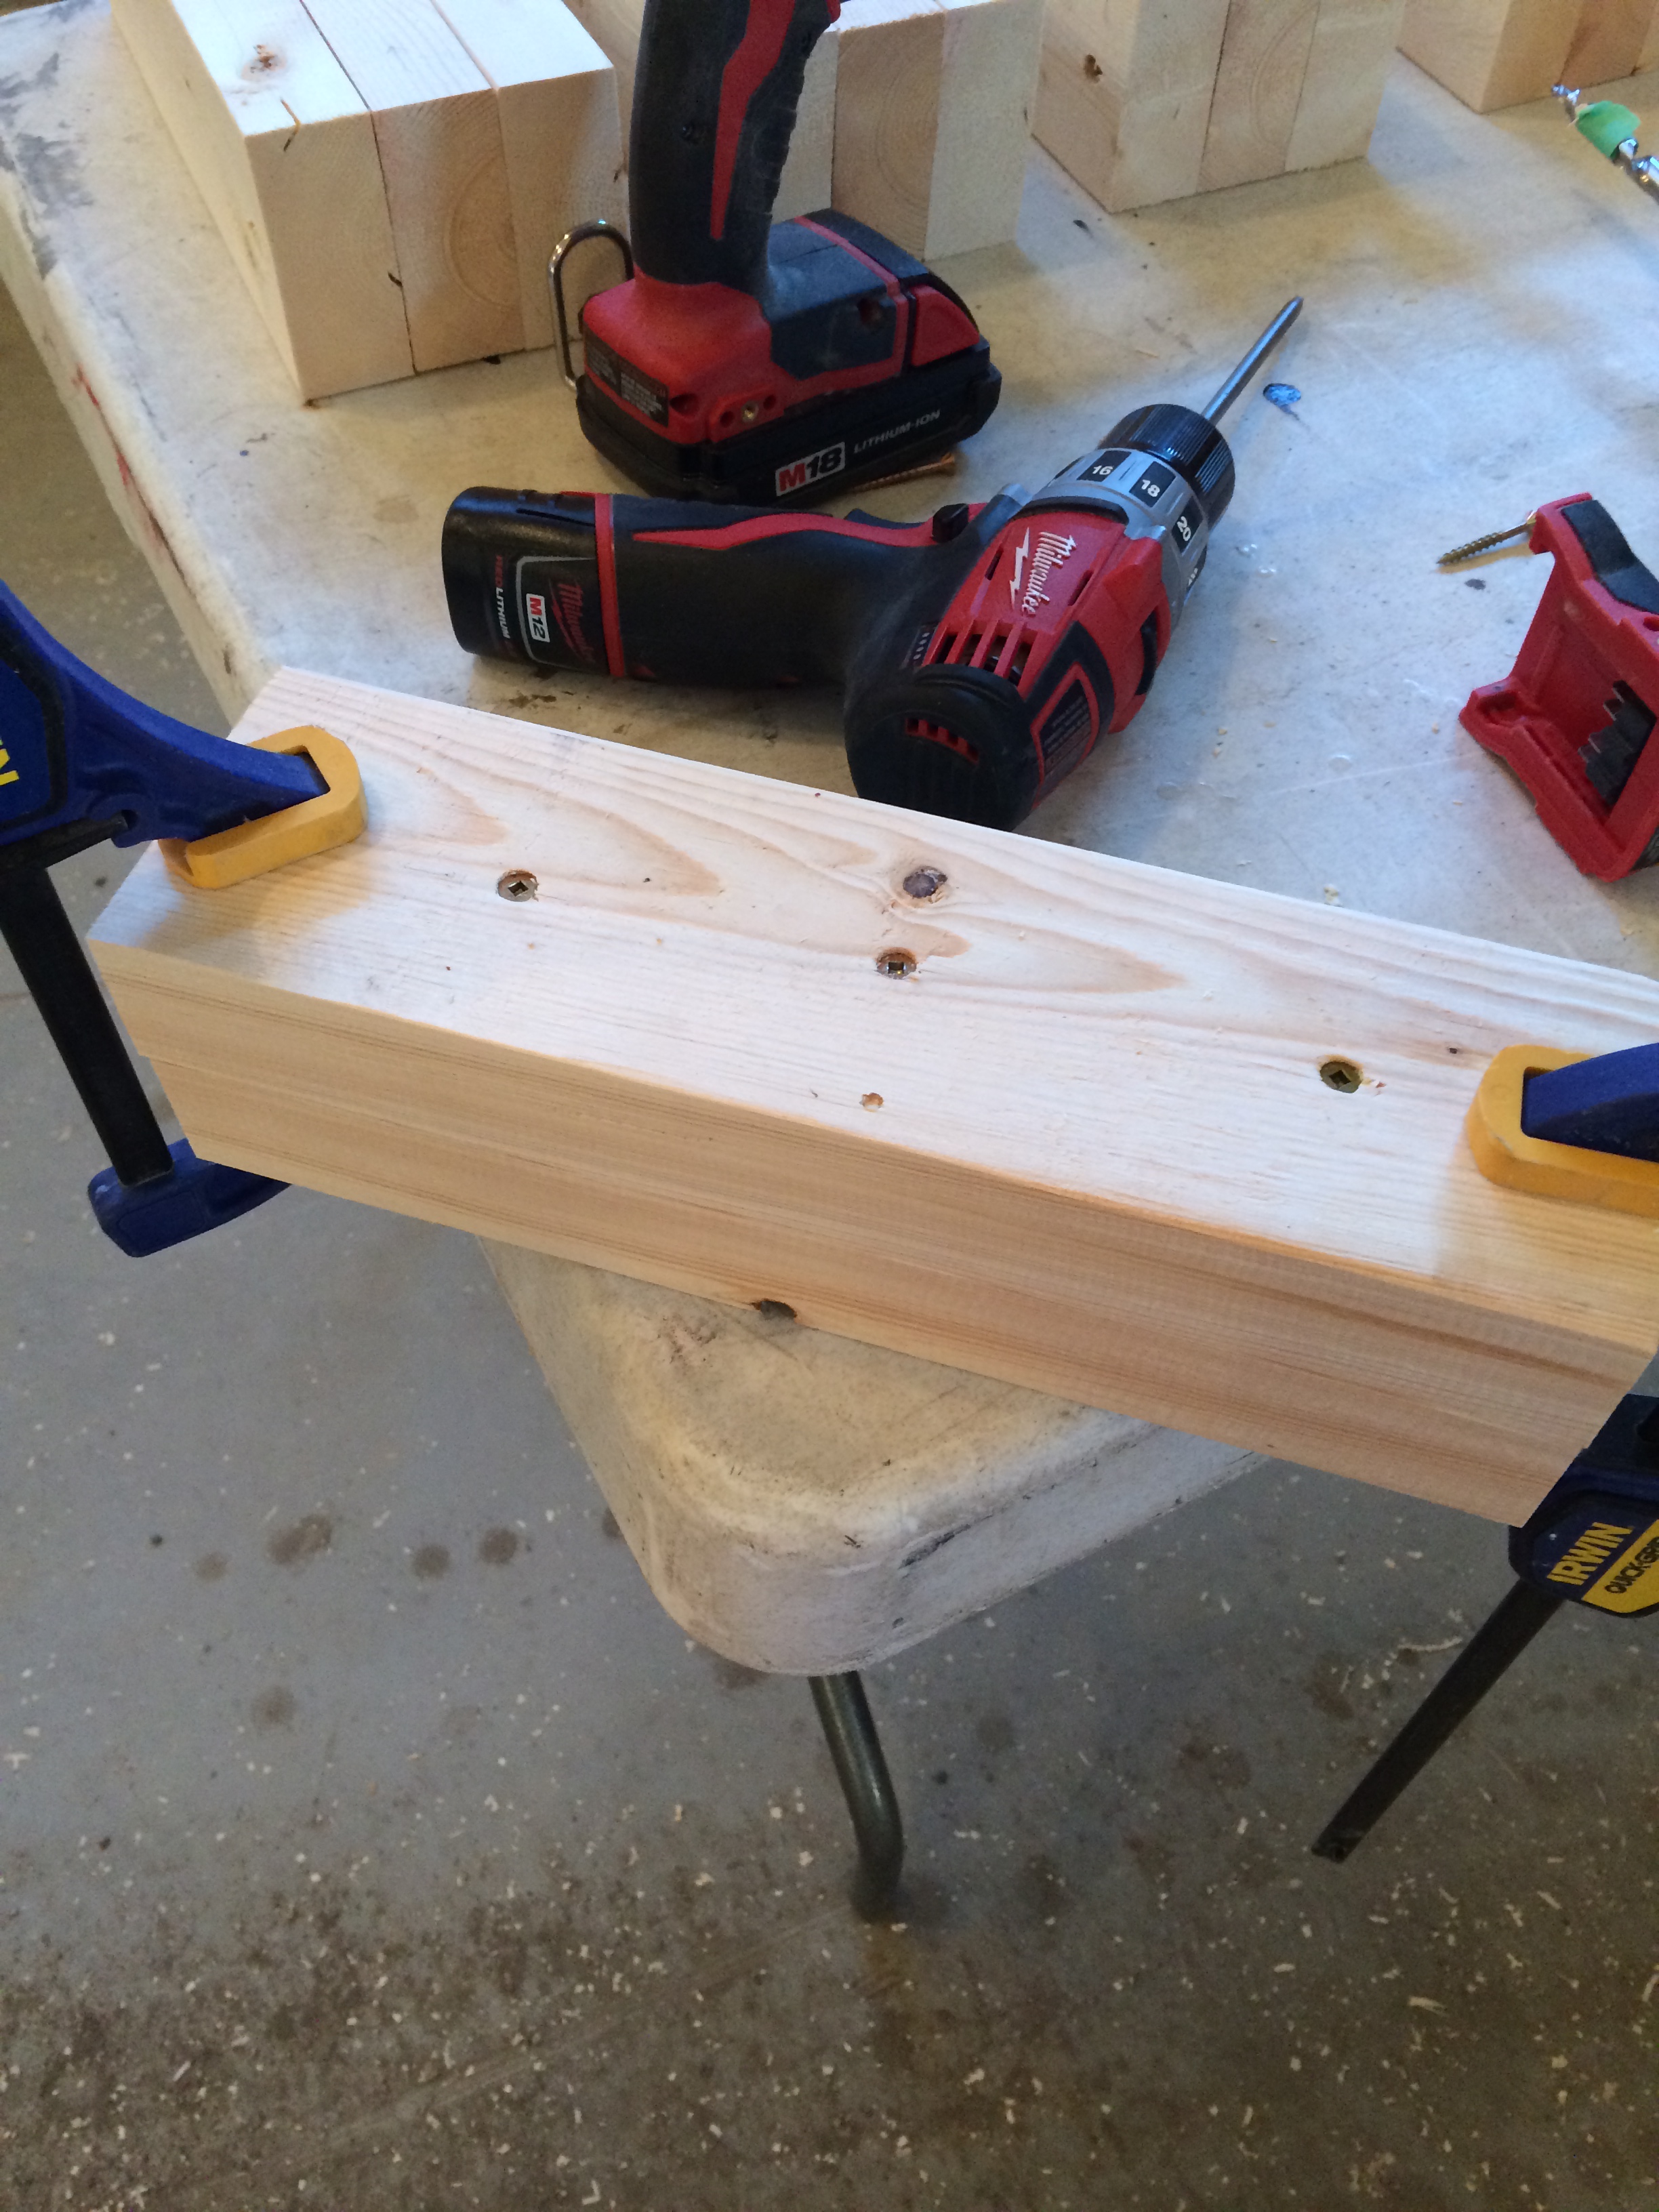
Now, we put those together. Pre-drill your holes (I used the bit that came with my Kreg Jig kit), pre-drilling ensures that your screw head goes completely in the wood. This will allow your wood to connect almost seamlessly. I mark my bit with painter’s tape so that I don’t over drill. Measure it by placing the screw on the bit, and setting it on top of the wood. You DO NOT want to over drill, if you do your screw could poke out on the other side.
I used Gorilla Wood Glue and a clamp to hold all three pieces in place and then for good measure secure with a large wood screws from each side.
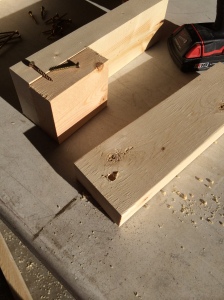
 You should have 4 pieces that look like this:
Now we need to add the top piece, I used a scrap piece of wood to measure the gap that I needed for the beam. For the bench I used a 2×4 for the beam, for everything else I used a 2×6. You’ll notice the top isn’t level, that’s on purpose. We’ll trim it here momentarily so that it is perfectly straight. Clamp, Glue and Screw, just like you did on the bottom.
Trim off the garbage on the end. Also at this time its a great opportunity to make sure that all of your legs are going to be the same height. Re-measure them, and make sure that they are getting chopped off at the same height. You really want to make sure that these guys are the same, if they aren`t your bench (table or whatever) will wobble.

Ta Da , four matching middles for your legs.

Now we make the tops and bottoms of our legs (this part is easy). Let`s start with bottoms. Take two 2x4s and Clamp, Glue and Screw them together ensuring that they are long enough to trim slightly. For the bench I just wanted them to be the same as the width of the bench, so I matched the measurements for the seat. I pre-drilled again, but you don`t need to since these holes will be hidden.
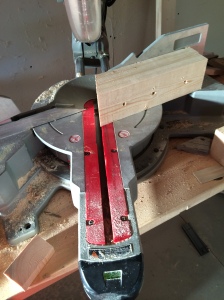
Set your mitre saw to 22.5 degrees and trim each side. At the longest point you want it to be the width of your seat.
 Once that is done you`ve officially finished the bottoms! Congratulations!

And the top is just as simple. Cut a single 2×4 to length, 22.5 each end.

And BOOM you have tops AND bottoms, now to assemble. 

Clamp them so that they don`t move on you.

Screw them into place. You want to ensure they are not going anywhere, but I probably overdid it with 4 screws and wood glue; but I figure, if I`m putting the time in I don`t want something silly to go wrong.

Last step to get your legs – the footies. Be VERY careful when cutting the small pieces, it gets dangerous in tight quarters.

Pre-drill your holes, you don’t want your screws scratching your floors!

Glue, Clamp and Screw

Ta Da, your legs are done. All that is left now is the frame and seat.
I build my frame so that it is 3 inches shorter than my table on each side. I used my Kreg Jig to build the frame, you can find my full Kreg Jig Tutorial here.
 Attach the top, Clamp, Glue and Screw.

Now all you need to do is stain, protect and assemble. I used Saman Water Based Wood Stain in urban grey and I LOVE it! I thought about upholstering the seat for a long time and I still might, but I just love the clean look we have right now.

This looks great! What did you use for the bench seat? Reading through your directions it appears that it is .25″, is if ply wood or a thin board?
LikeLike
It’s a factory prepared pine. I think it’s a couple pieces glued together. It came in one piece shrink wrapped, pre-plained and ready to go. It’s not plywood but you could probably use plywood if you wanted to.
LikeLike
Reblogged this on heavydiy.
LikeLike
You make it sound so easy!! Lol, and i know it can be, but I am super impressed!
LikeLike
Awe! Thanks Kate! Really when you break it down, every individual piece is easy (and to be honest – I made it easy on purpose).
LikeLike