 I had this post waiting for a while now, I made it early as a present for my future niece or nephew due in the Spring. I have made 1 quilt before this, and have never sewn with minky. Since it was a gift I wanted an easy binding that would look great. This is perfect and easy to accomplish for a new quilter.

I wanted to try these little triangle – squares. Not worth it in my opinion. I wouldn’t do them next time, the quilt just ended up looking really busy. So I made them the border and did regular 3 inch squares for the middle.

Sew it all together… Depending who you talk to some quilters will say “Iron every seam open” which is traditional. I’ve been ironing each row the opposite direction of the last. Its a lot faster than opening every seam, and then I can keep my fingers away from the steam (somehow I still managed to get a few battle wounds from this project).


 Once it’s all sewn together iron it all flat, and get ready for batting.

Lay your batting down first. I used recycled batting. It’s actually made 100% from recycled plastic bottles! AND it was the same price as the regular stuff. A quilting friend did tell me to use Baby Batting, but it was hard to find and I couldn’t find any posts online that insisted on it, so naturally I gave up. I had this batting left over from my last quilt so it seemed natural.
Lay the back side of the minky on top the batting, and lay the right side of the quilt on top the right side of the minky. We’re going to pull it inside out so this matters.

I used a combination of quilting safety pins, and normal pins to ensure everything was held in place. Whip around the border. I put the edge of my foot on the edge of the quilt top. Trim off excess batting & minky, but don’t trim too close to the seam. Leave a hole about 6 – 8 inches big, remove all pins and pull ‘er through!

Repin, this time it’ll be easier to just use the quilting pins.
Pin your hole shut! Whip around with the machine again. This will shut your hole and get you the finished edge all the way around.


I quilted the blanket myself and I used 2 different techniques. The first I did was making Xes on each square in the middle section. Then I did invisible quilting on the edges. It’s supposed to be invisible because you stitch in the existing seams, but I wasn’t very good at lining them up. I tried, but it’s not perfect. Here you can see what I did.

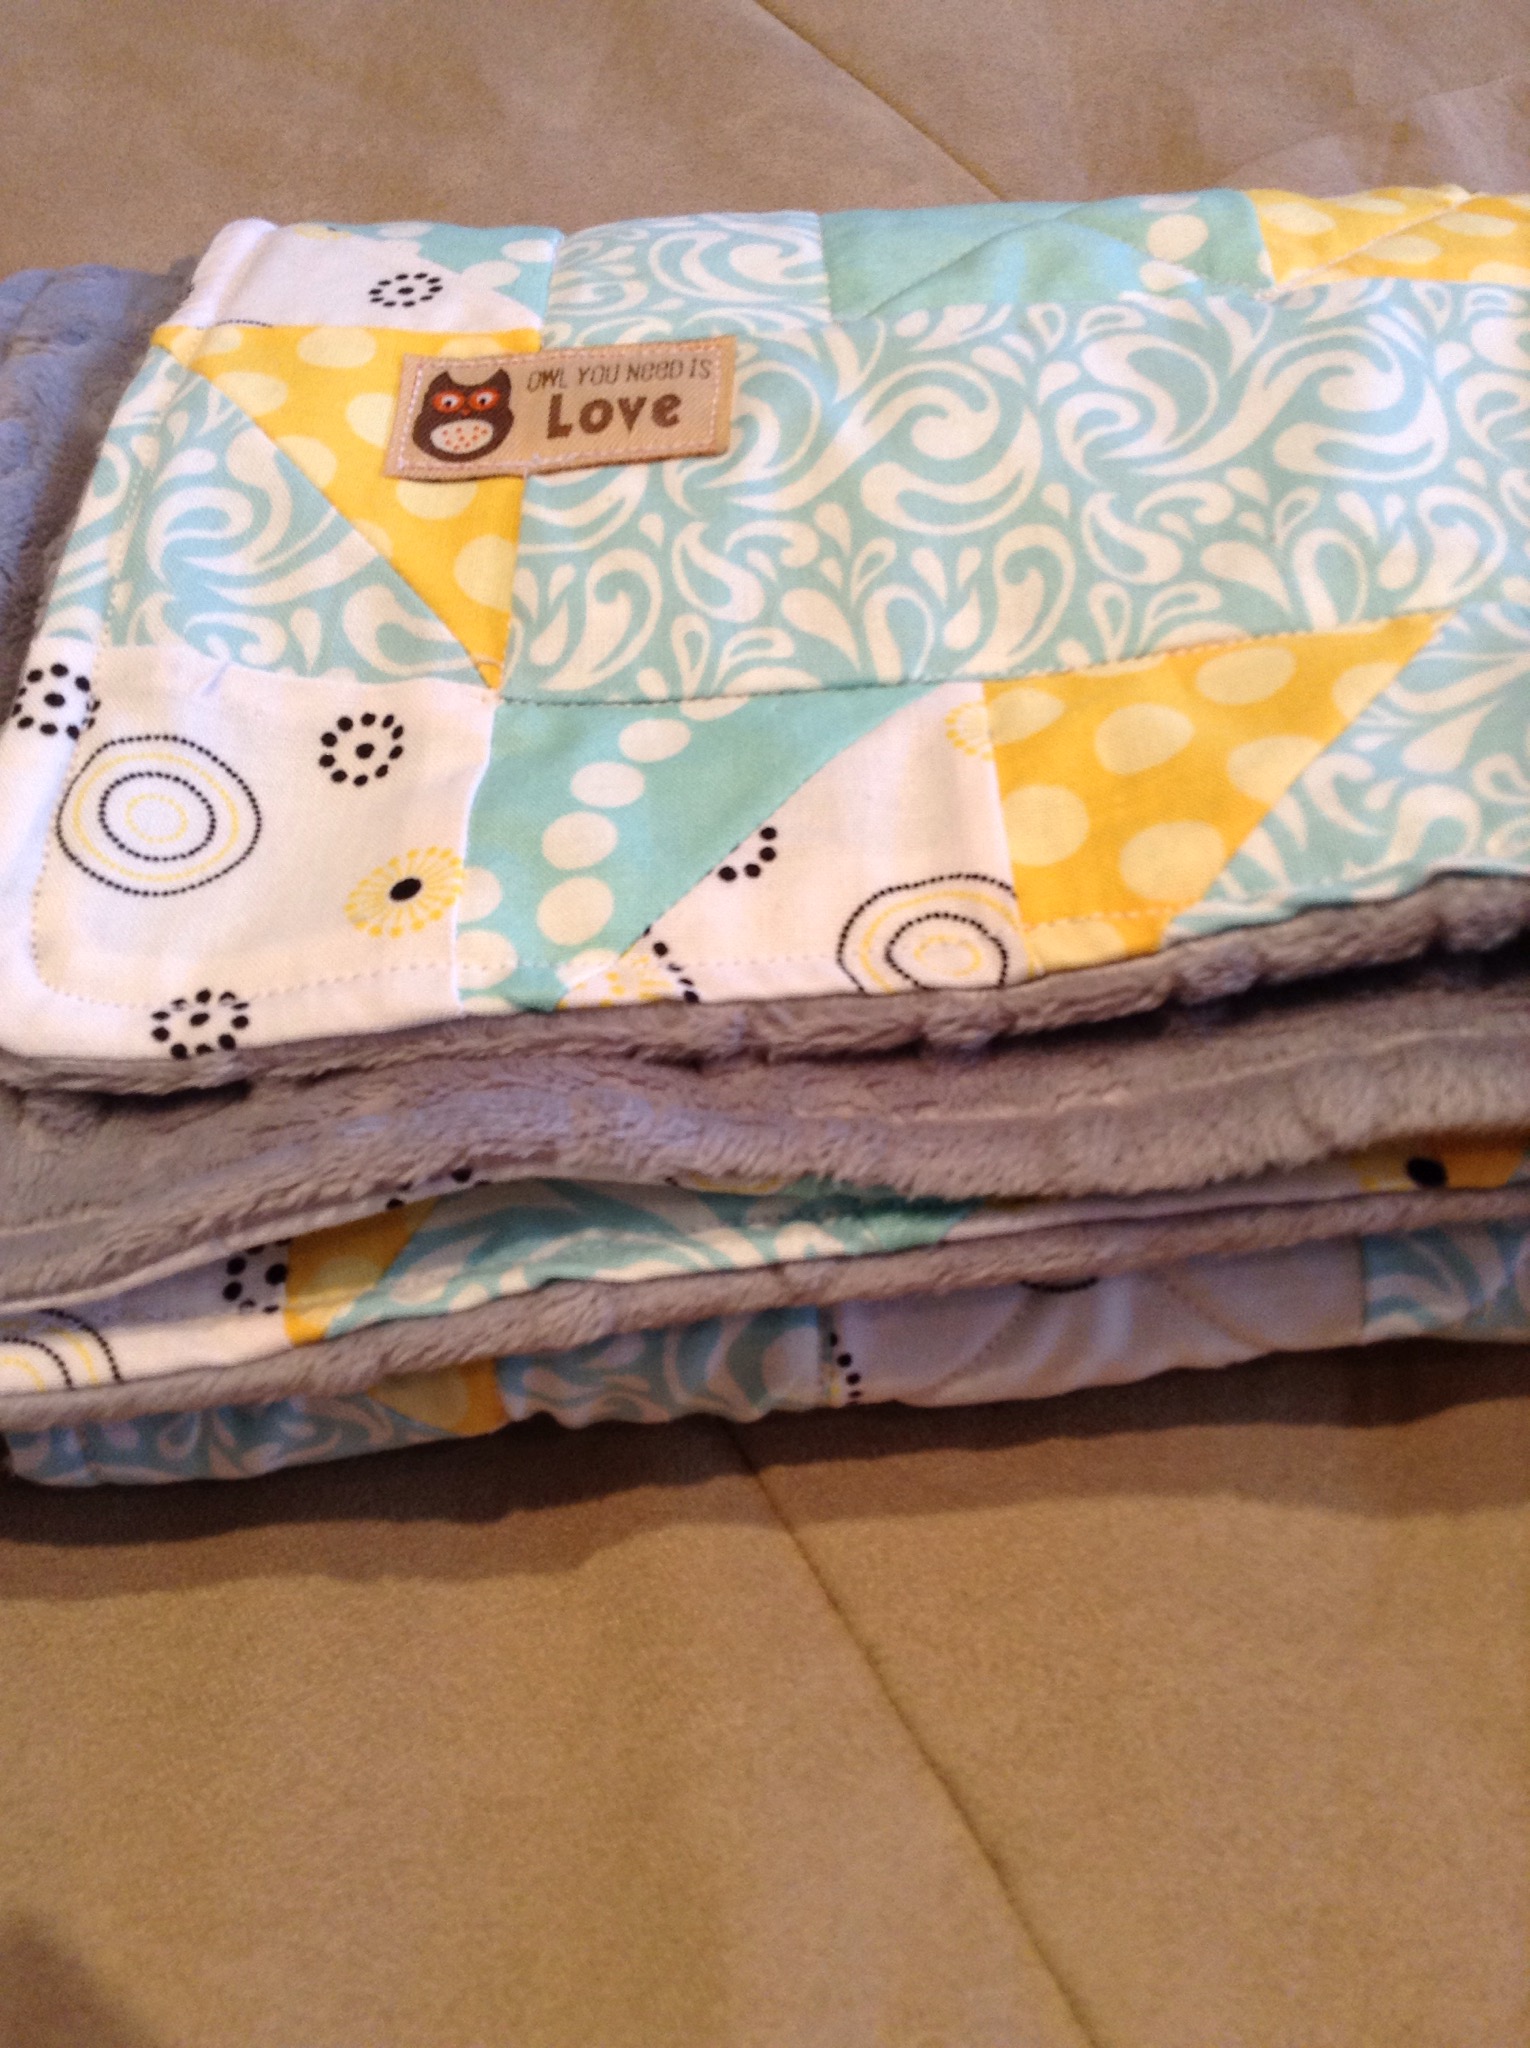
and here is the finished product:

Hope you like my project – Joy

Gorgeous! I’m not brave enough to stitch with minky, especially in my new machine but your method of turning the quilt inside of itself is a great idea .. I might just give it a go!
LikeLike
Thank you! I was warned that minky was hard to work with, but I really didn’t have any issues. It did shed, but really only when I cut it. Maybe it was beginners luck – but I would do it again.
LikeLike
I think it might be worth the pain for such a soft finish to be honest!
LikeLiked by 1 person
It turned out great!
LikeLike
Oh, thank you!
LikeLike
Beautiful!
LikeLike
Thank you! I’m so happy with how it turned out.
LikeLike